

How To Clean Up M1 Garand Stock
If you read the previous ii installments on how to order from the CMP, then you take a good idea about how to get eligible, fill out your paperwork, and transport in your package for a Field- or Service-Grade M1 Garand rifle. Now what? Once the waiting is done, and your rifle arrives at your doorstep, you take received a shiny new instance of Patton's "deadliest rifle in the world".
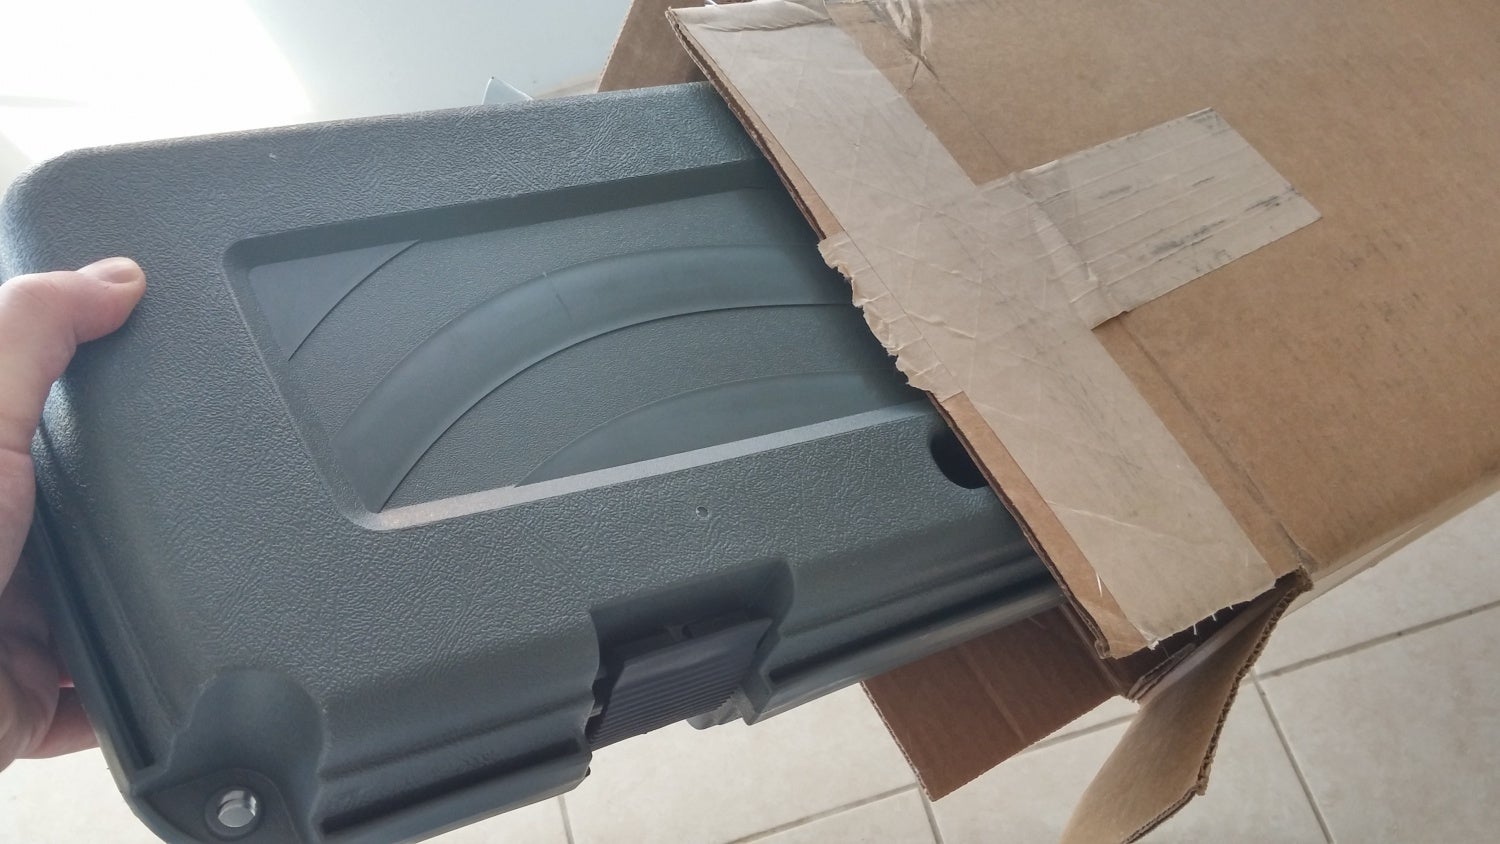
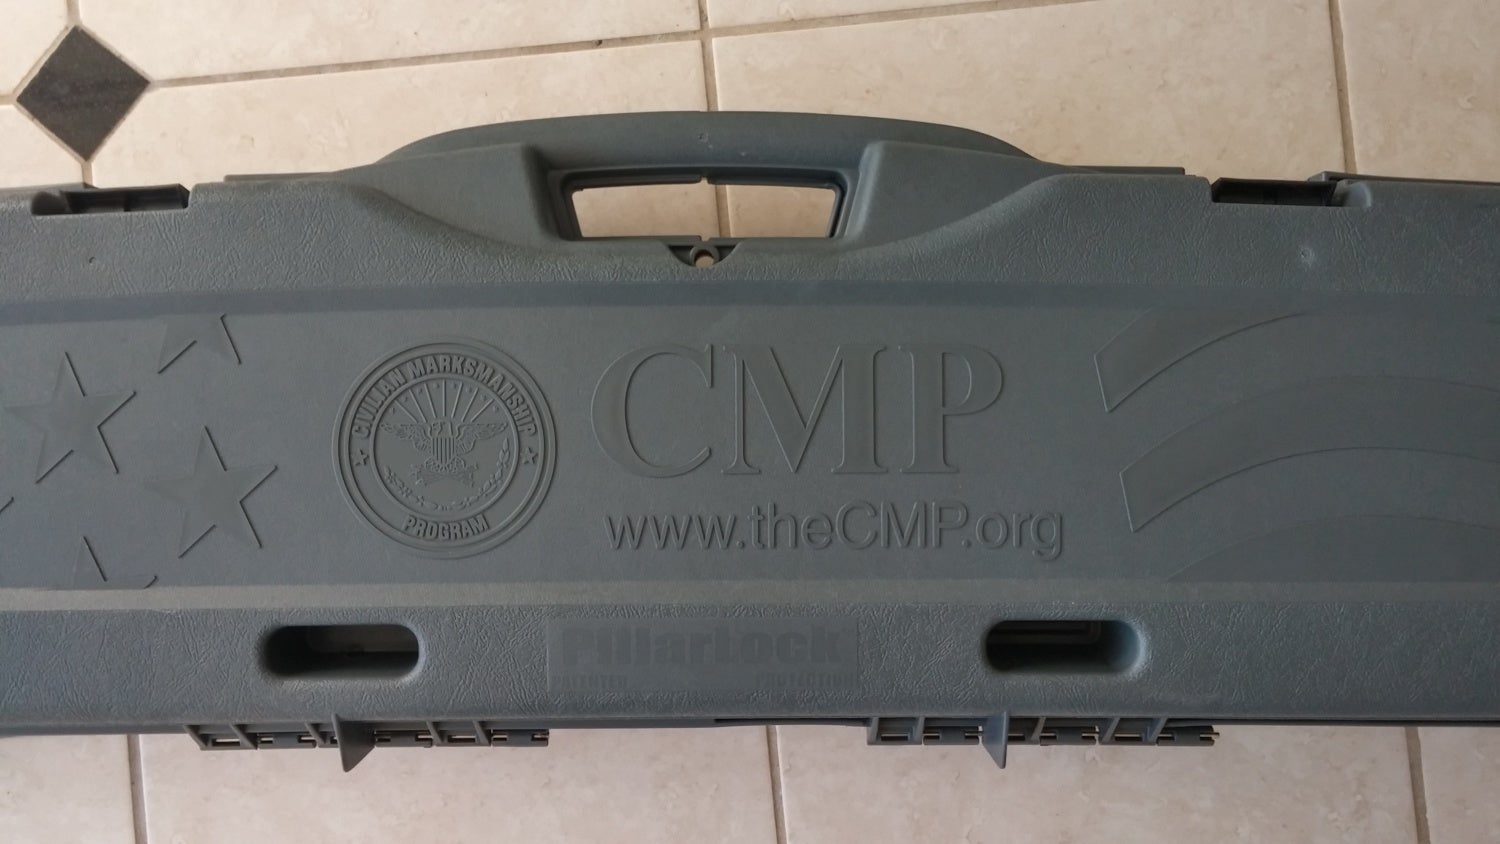
CMP rifles come in excellent branded difficult cases. A nice touch, for sure.
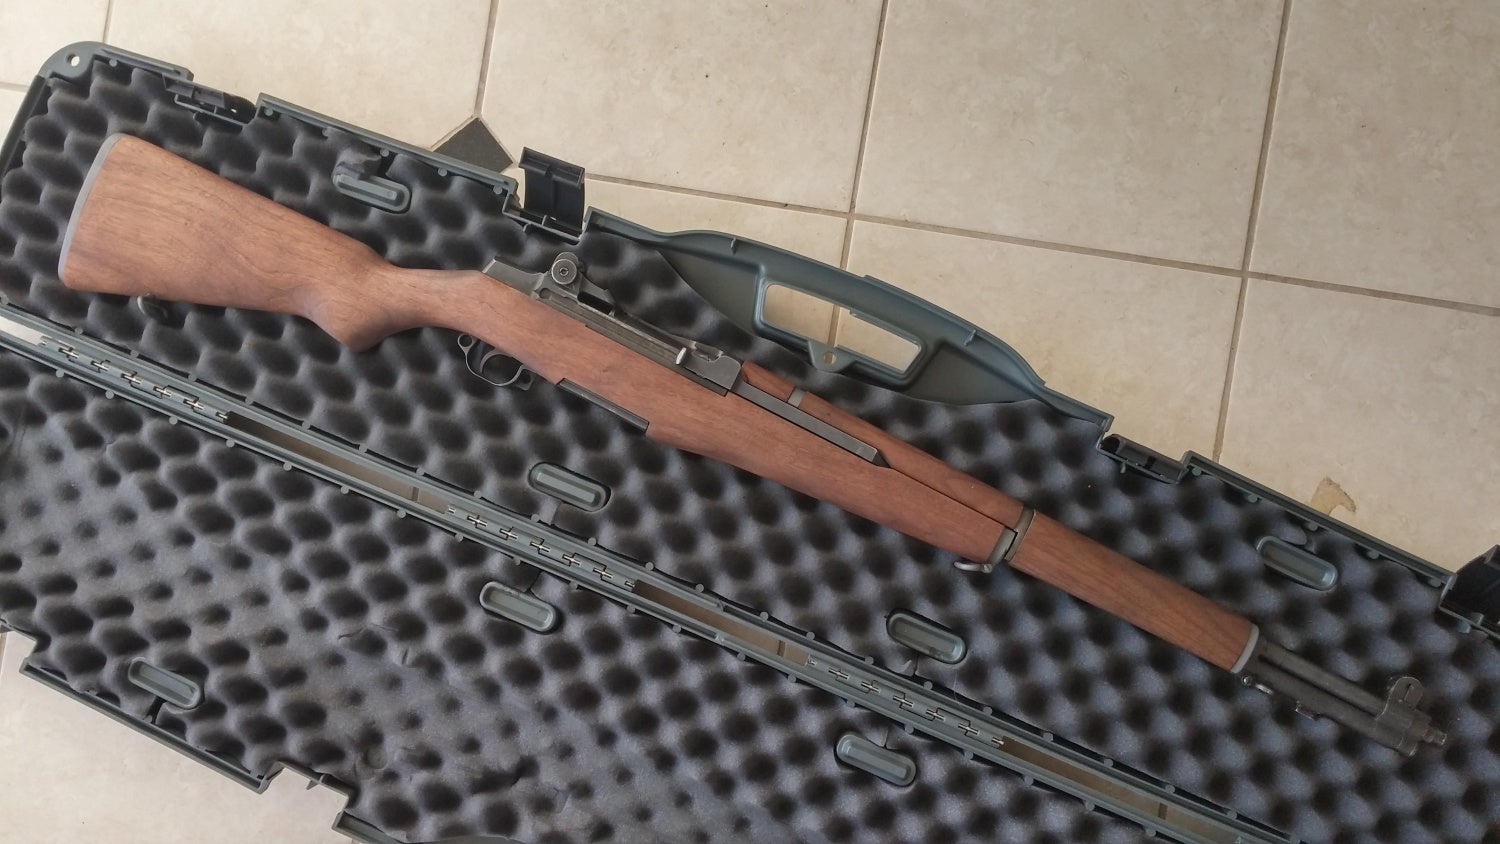
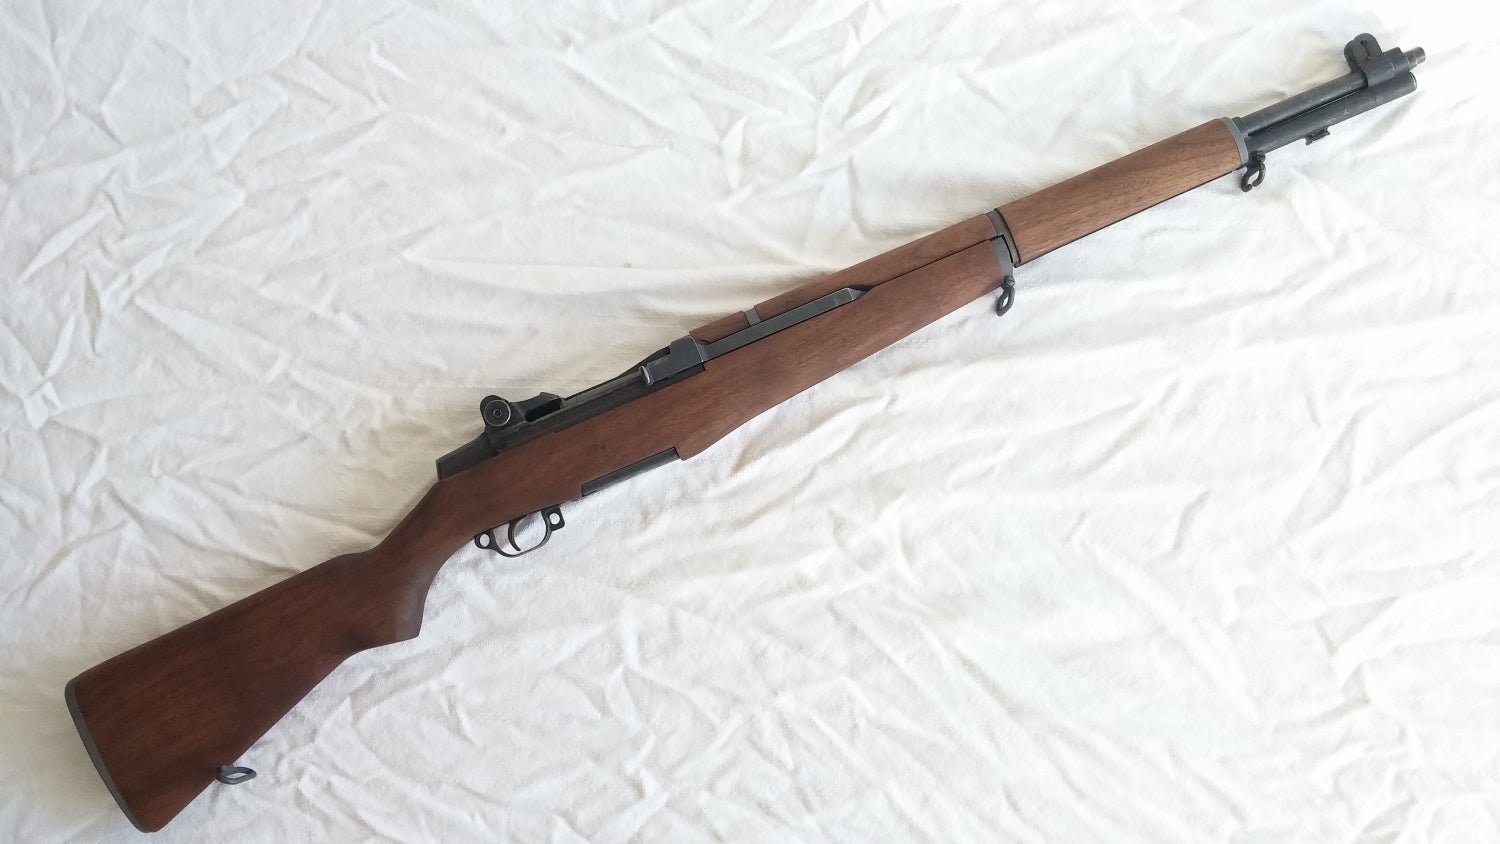
My Service Class 1955 Springfield Arsenal M1.
Really, although new to you, what you got was a mixmaster M1 Garand, probably with a brand new forest stock and handguard, and the rifle may take some operation problems or imperfections. The CMP does the best they can with the parts they have, but ultimately your rifle is assembled from parts all over the specification, and information technology may demand a little tender love and care to become all it could be. A well-tuned M1 is a truly great rifle, and an fantabulous range gun, but how do you get from here to at that place?
Some folks may be perfectly happy with a totally stock CMP M1, simply my goals for my CMP M1 were threefold: To set the minor mechanical issues my rifle had, to perform minor accurizing to my rifle, and to change its appearance to exist closer to a historical M1. With regards to this last, the new wood stocks the CMP M1s come with are fine pieces of hardware, but don't closely resemble military surplus gunstocks. Instead of buying and accurizing a military gunstock, I decided to accurize and modify the new CMP stock with historical processes to attain the functionality and appearance I wanted. This post will embrace virtually of the functionality and accurizing modifications, while Part four will embrace how to achieve the historical look.
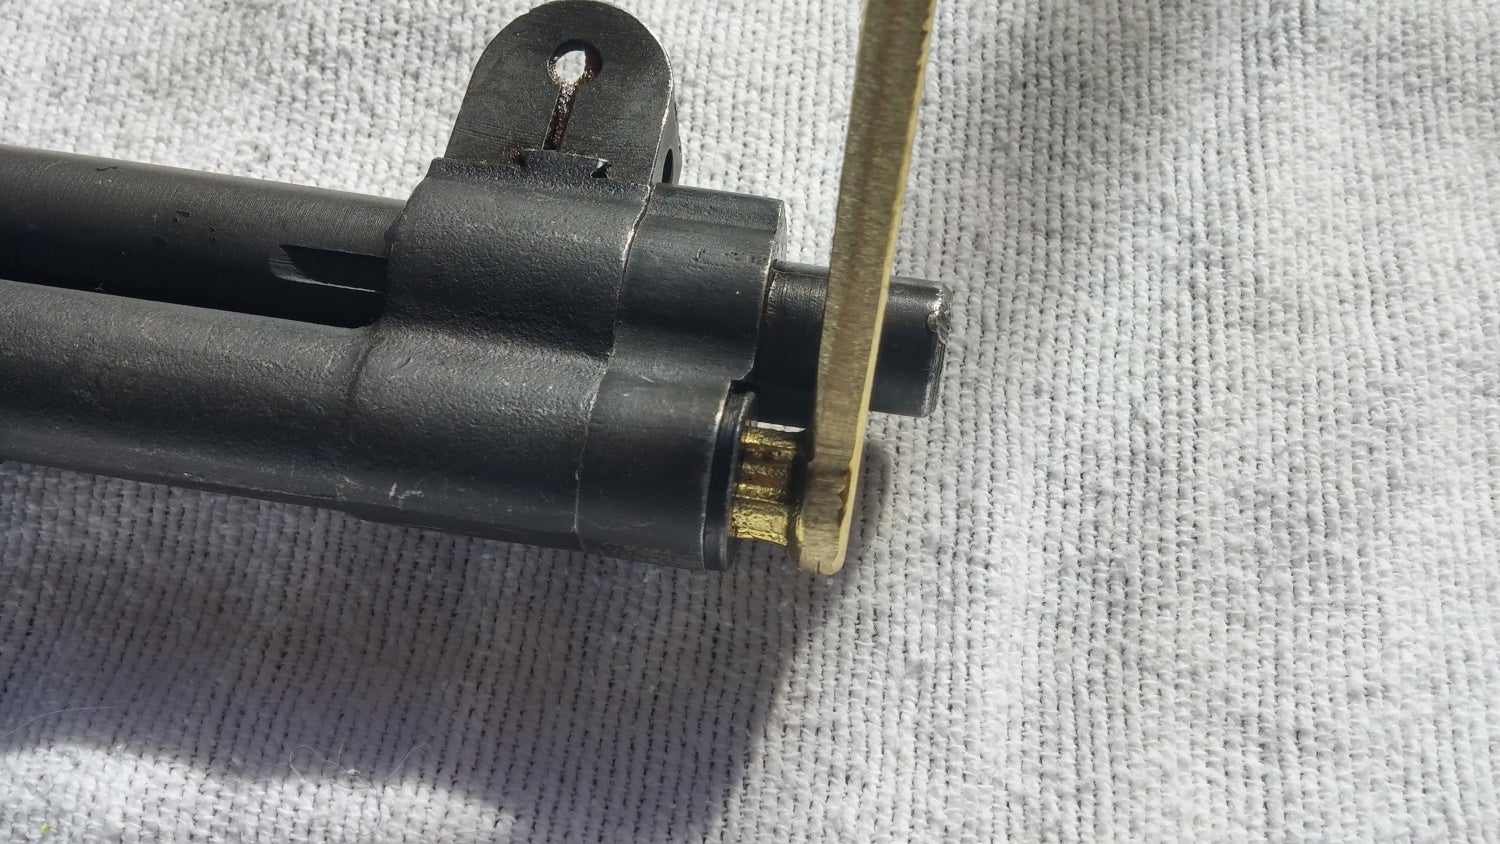
Now, functionally, the M1 rifle is sort of like a chain. Every part in information technology has a job, and they're all linked together, and most importantly if one part isn't working right, the whole organisation stops working right. That means troubleshooting the M1 can exist a bit of a hassle. The starting time mechanical problem I noticed was difficulty in inserting an en-bloc prune. Research online suggested that the trouble was the follower arm non existence able to movement far enough downward, which meant a slap-up bargain of force was necessary to seat a clip fully until the clip retaining latch clicked. The counterintuitive prepare was to check the tab on the bullet guide for peening. A quick inspection showed that my M1's lockwork pivot was very difficult to remove, and the bullet guide was indeed peened:

Note the peening on the tab at the very pinnacle of the bullet guide in this image. This peened portion pushed the lockwork out confronting the receiver, preventing the follower arm from moving far enough to easily seat an en-bloc clip.
A quick application of some emory cloth removed the peened portion and freed upward the lockwork retaining pin and allowed piece of cake insertion of en-bloc clips.
Adjacent, I moved on to cleaning up the wood effectually the performance areas. To do this, I needed to purchase some supplies online; the total kit is shown beneath:
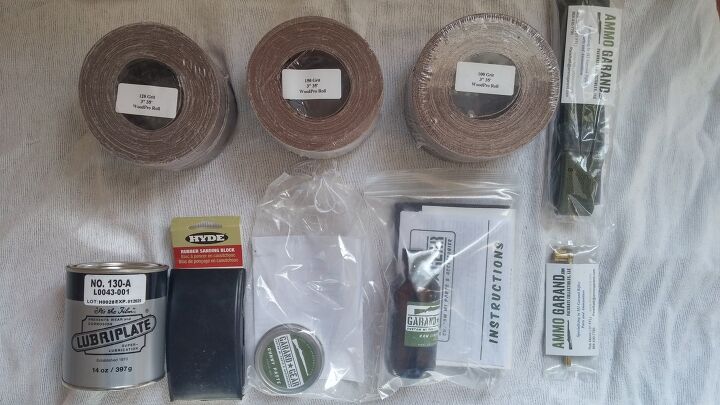
M1 Garand stocks were historically sanded by hand with 100, 120, and 150 grit cloth, and were finished with raw linseed oil which I purchased from GarandGear.com) which gives surplus stocks their carmine color. In addition, I chose to purchase "Gunny Paste", a sealing wax, to help preserve my M1 against the humidity hither in Louisiana. From AmmoGarand.com, I bought a gas plug wrench and a standard GI sling. The historical lubricant for the M1 was Lubriplate 130A, which I purchased direct from the manufacturer in fourteen oz quantity because no smaller size was bachelor. I probably have plenty L130A to last me a lifetime, now, but at least my Garand will exist authentically lubricated. Clearly, I should have bought mutton tallow, instead!
My M1 has an early on-style trigger guard, so I made use of an old broke plastic dial as a disassembly tool to remove the fairly tight trigger pack:


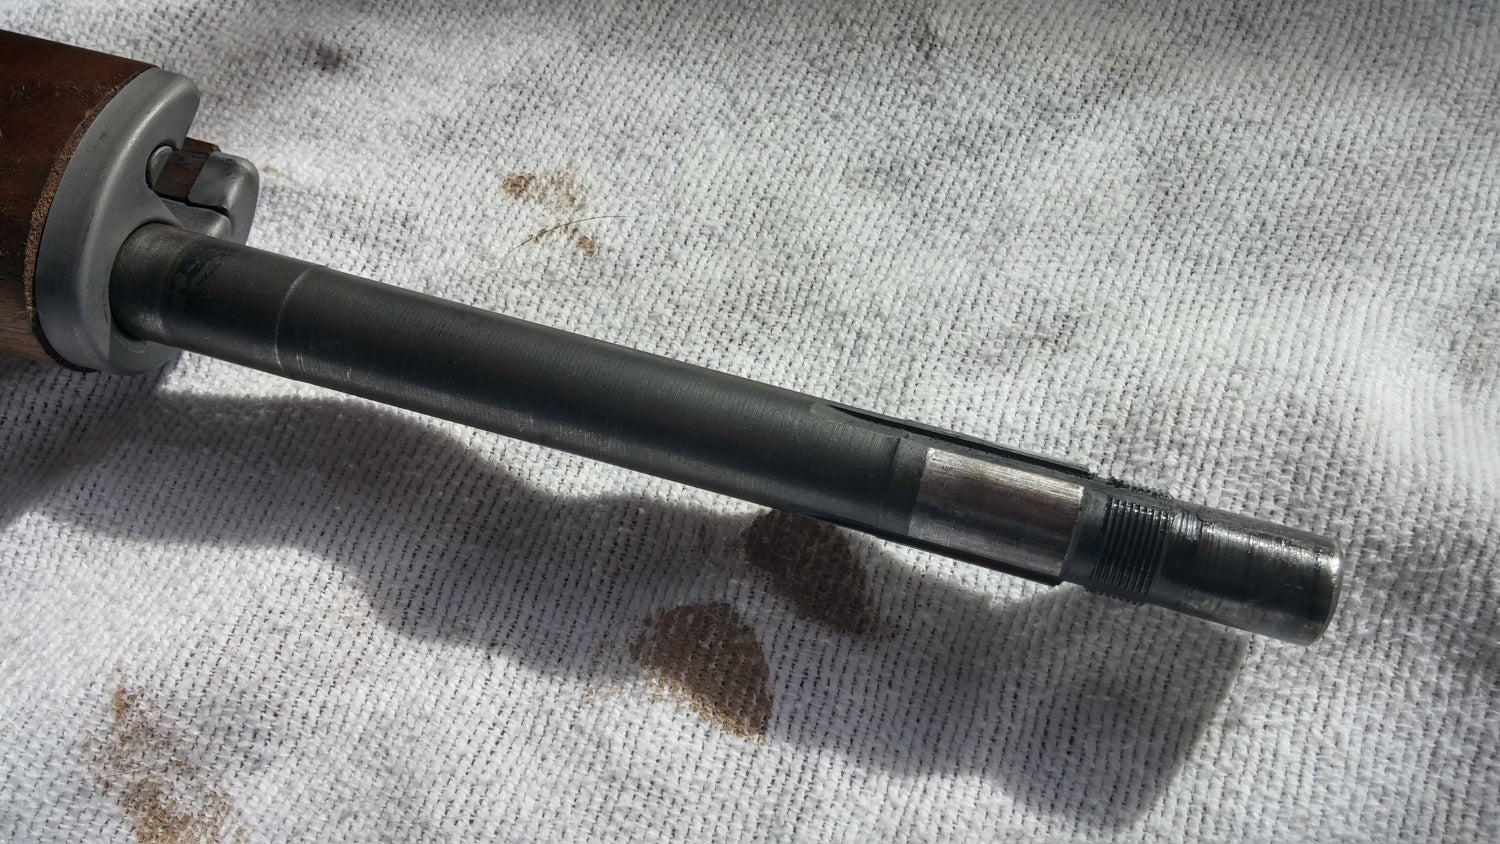
The first thing that became obvious upon disassembly was that my operating rod was bent slightly side-to-side (M1 operating rods by design have a natural top-to-bottom dogleg to them. A side-to-side curve is common, just non by design). For the sake of both performance and accurateness, the operating rod should not contact the wood stocks of the firearm at all. A very helpful guide to stock fitting is available on the CMP forums, written by user tinydata. Instead of undertaking the challenging task of bending my original oprod, I decided to clean up the wood to allow the best functioning possible. The first footstep in this was to sand the inside left edge of the front handguard so that it wouldn't contact the operating rod. To remove the front handguard, I used the gas plug wrench to remove the gas plug:
Unscrew the gas plug and gas block retainer:
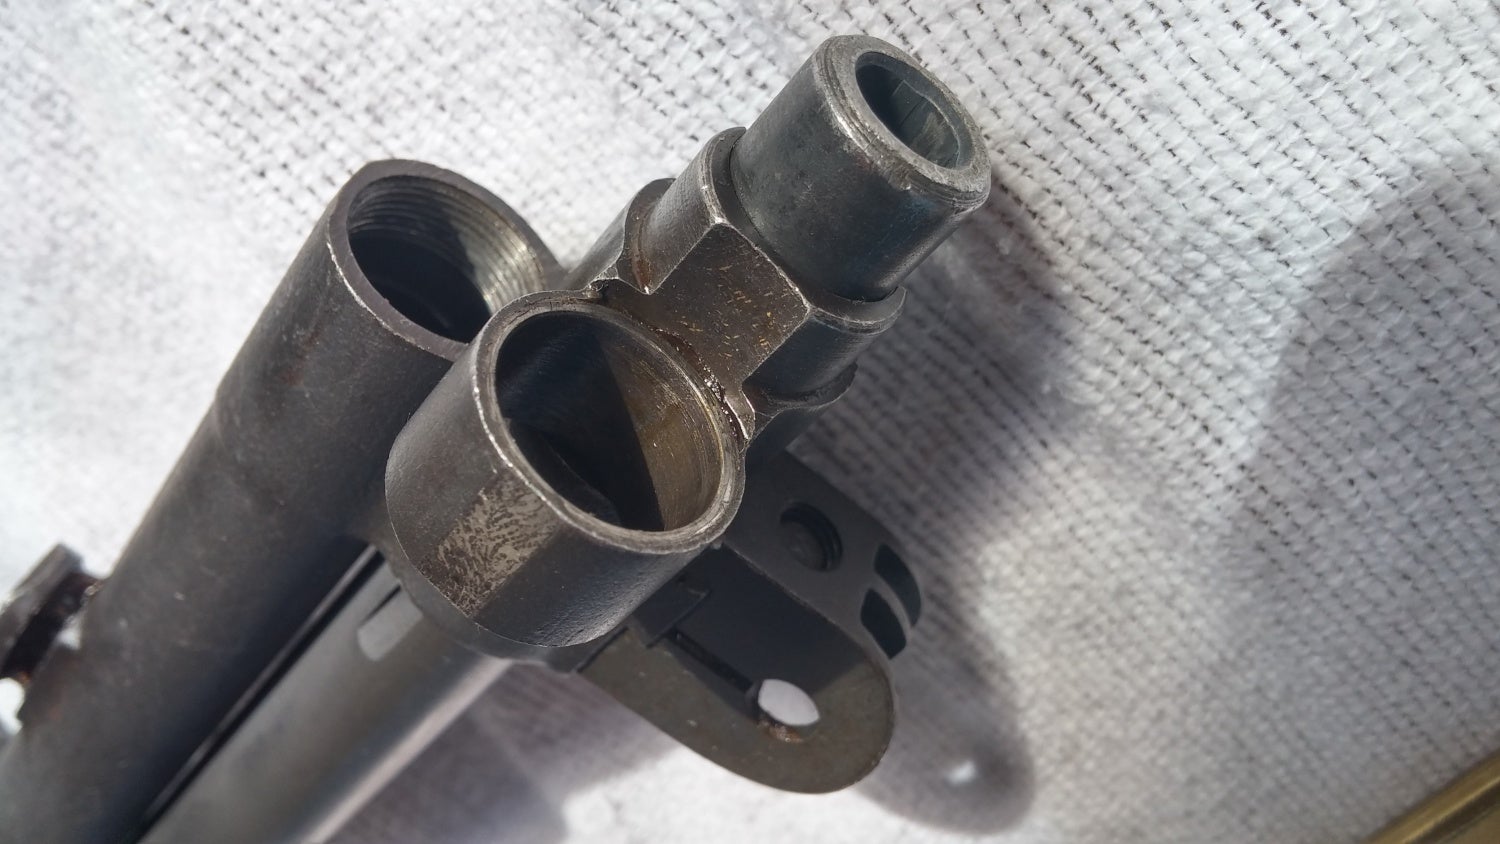
Remove the gas block:
And the front handguard:
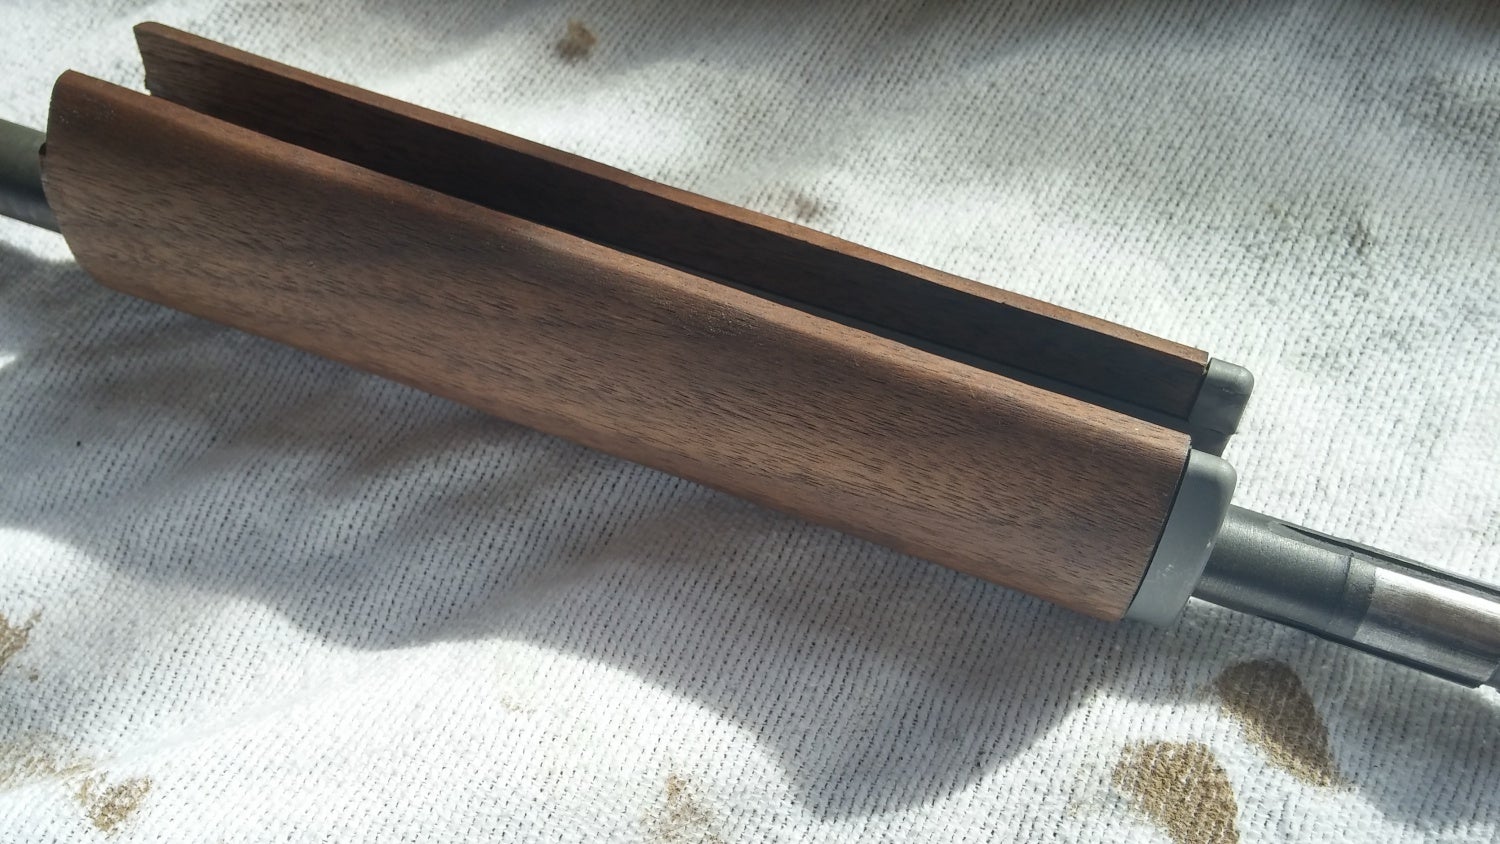
Then, I got to work. The cardinal was to take it wearisome and steady and not oversand the handguard. Instead, I sanded a little, and so checked fit, then sanded some more.
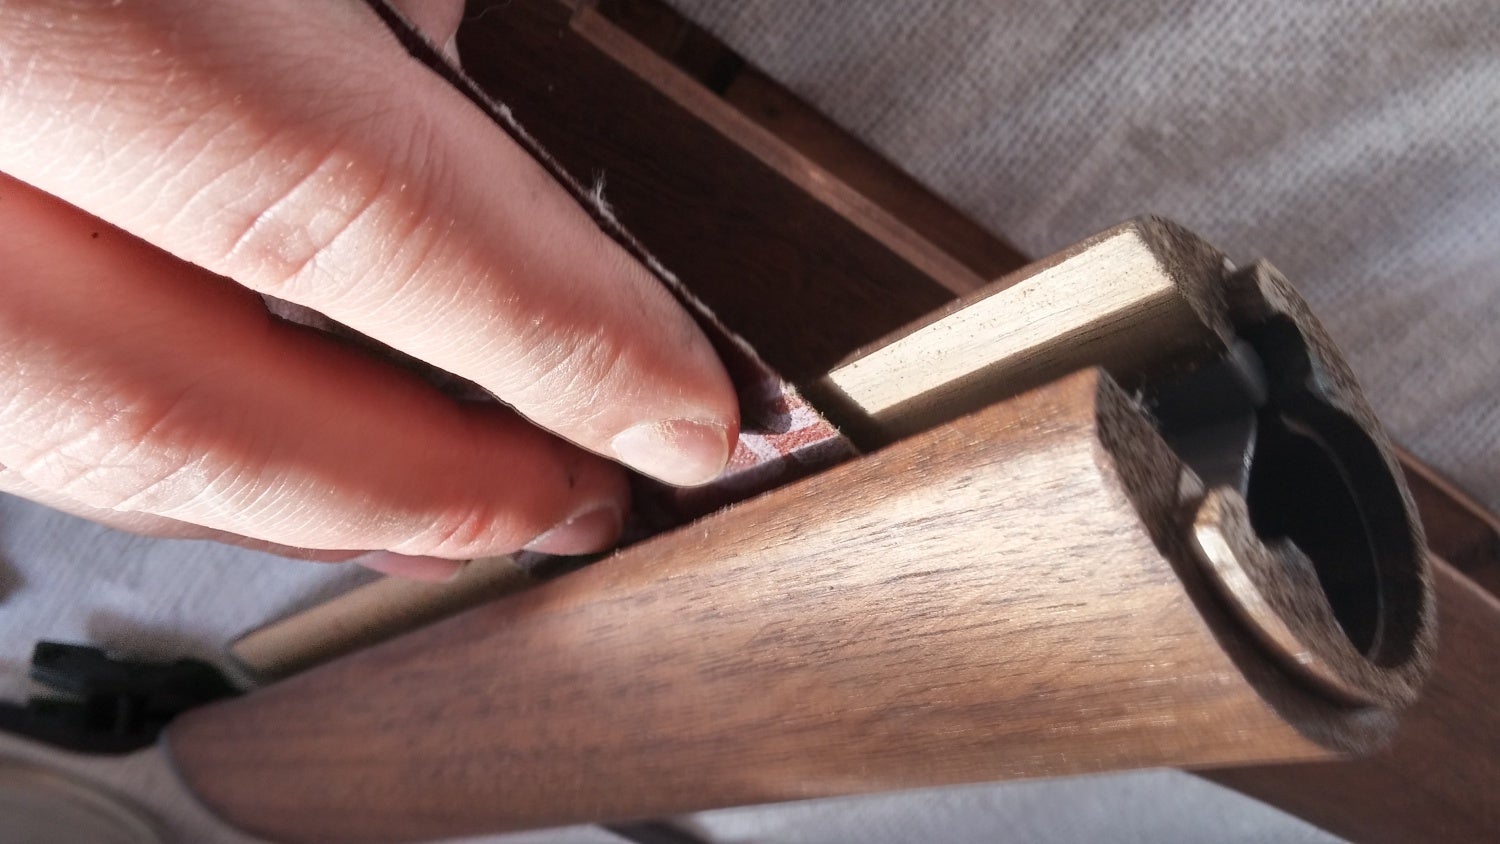
Sanding…

And checking fit.
The finish issue was a handguard that didn't contact the operating rod unless I cranked it over counterclockwise, which should be perfectly fine for the kind of range shooting I'll be doing with this gun. If I need to, I tin always remove movement material for an fifty-fifty more generous fit.
It'due south also important to make sure that neither the stock nor rear handguard contact the operating rod. In the case of my rifle, only pocket-sized cleaning up was necessary to ensure proper function.
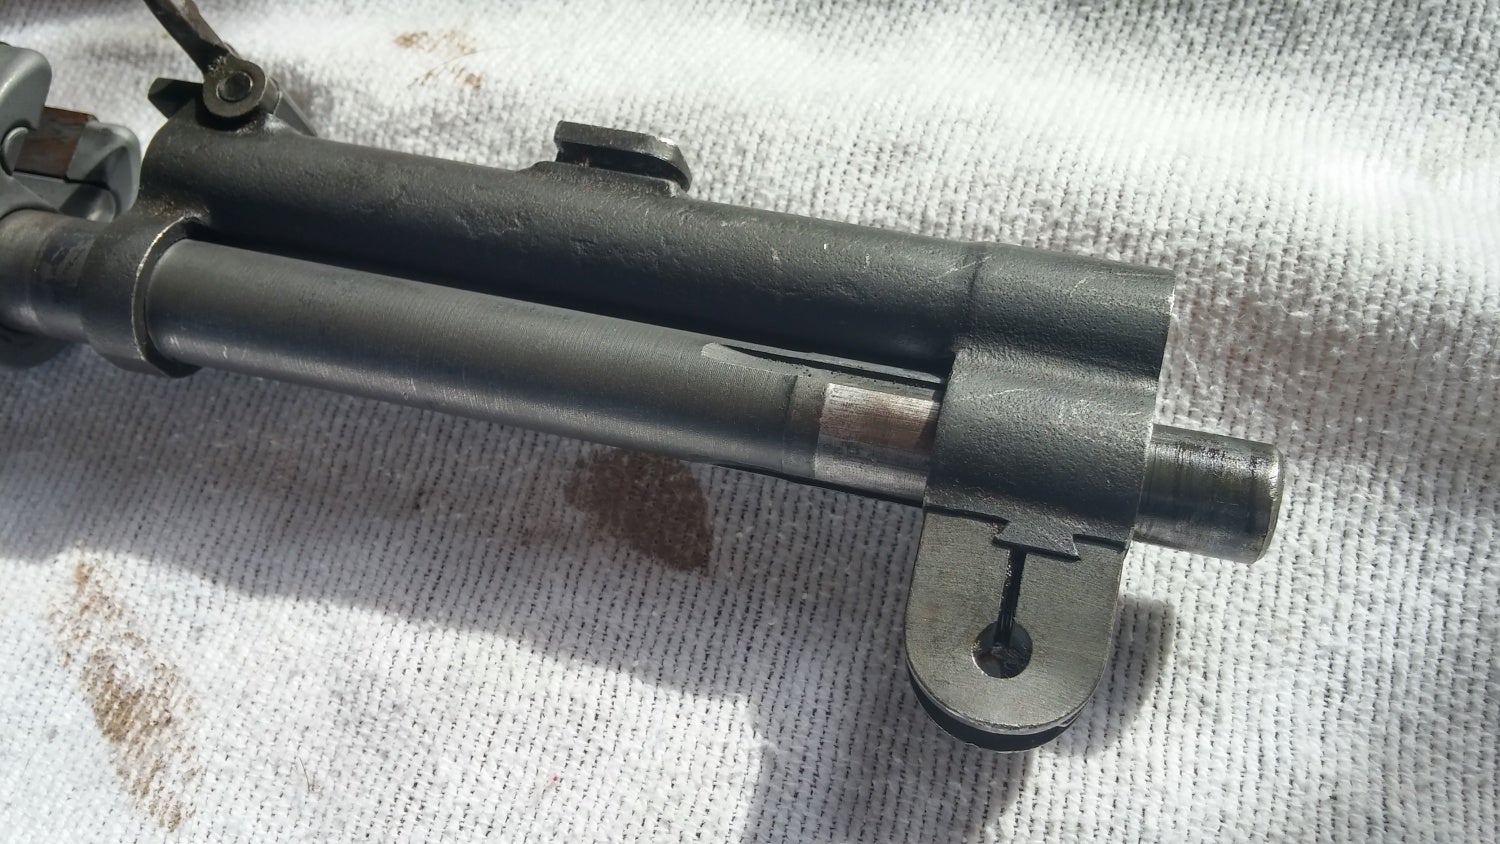
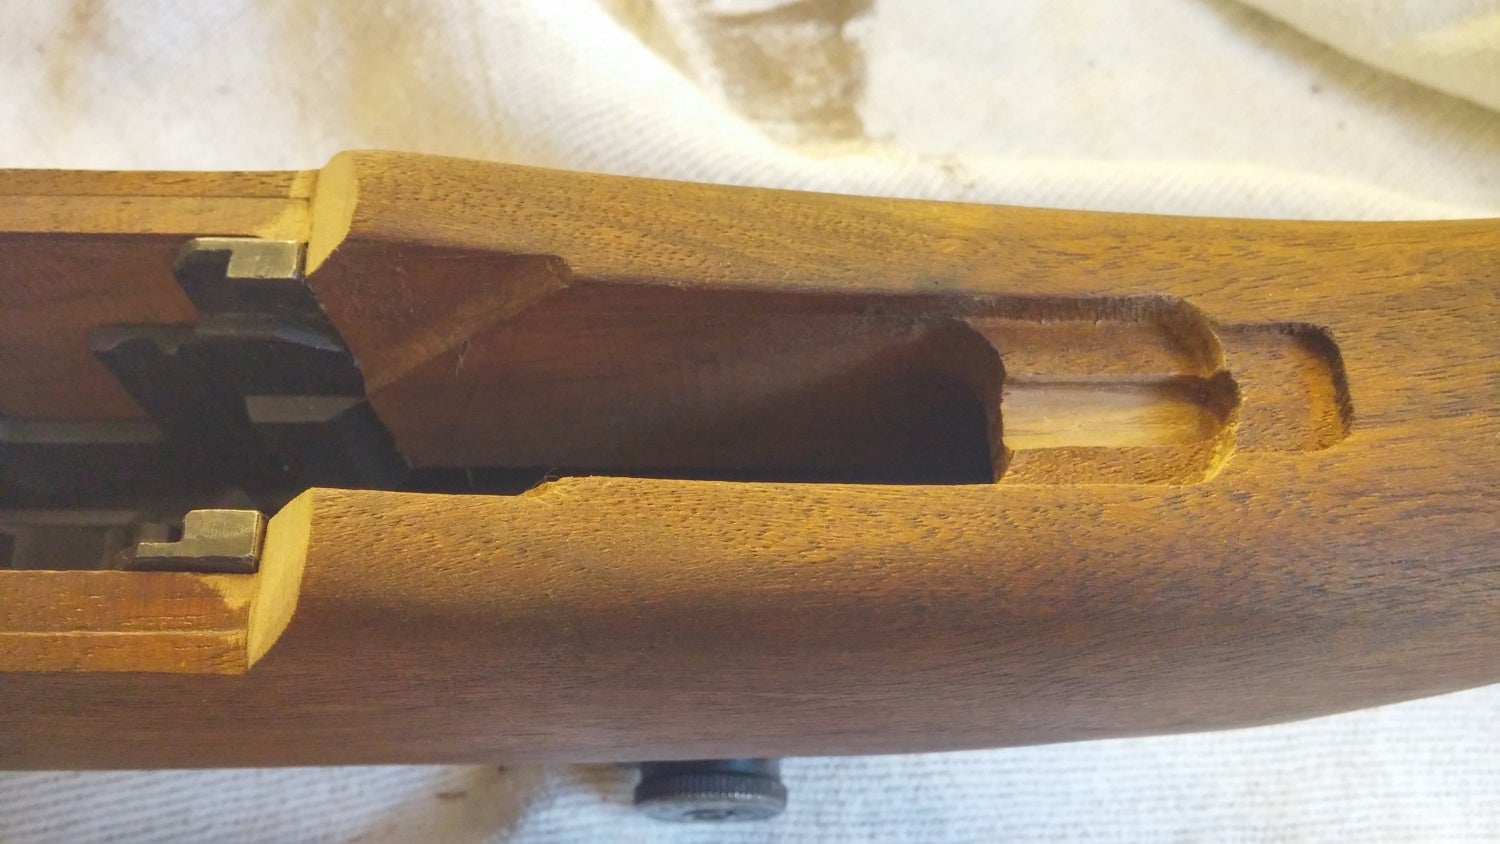
For best accuracy, I relieved my stock under the rear receiver enough that a sheet of paper would sideslip between. Supposedly, this helps better the consistency of the receiver and stock flex during recoil. Tinydata also mentions in his guide relief cut the rear of the stock for the firing pin. Both of these modifications are visible in the photo below:
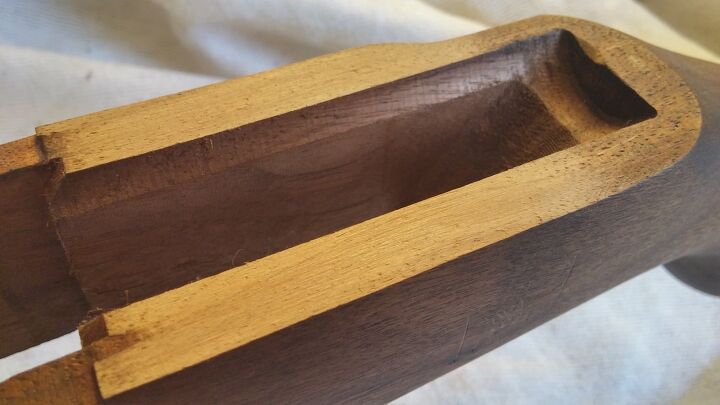
The light area between the frontward receiver cut and the toe of the stock is where I relieved the stock. Some folks have made this modification with a abrupt pace between the relieved and original areas, however I wanted my stock to take a more unmodified await, so instead I blended the transition. You lot can encounter the relief made at the rear right of the stock for the firing pin; I did this with my everyday comport Victorinox knife and it came out fine.
The concluding modification I made was to relieve the wood around the trigger baby-sit housing. Tinydata advised that the rear of the mag body should non touch on the gunstock, so I relieved wood until there was no contact. The rear of the trigger baby-sit body also should not touch the inletting of the wood, and the wood underneath the trigger ideally should exist relieved enough so that the trigger does non make contact with the stock when pulled. While I was satisfied with the relief cutting I did there, test-firing the gun afterward showed that the trigger baby-sit still was making contact with the stock.
The start range trip with the burglarize post-modification showed promise, just the total potential of the burglarize in terms of accuracy volition merely be realized with better armament (I used Greek HXP to shoot the grouping beneath) and more work:
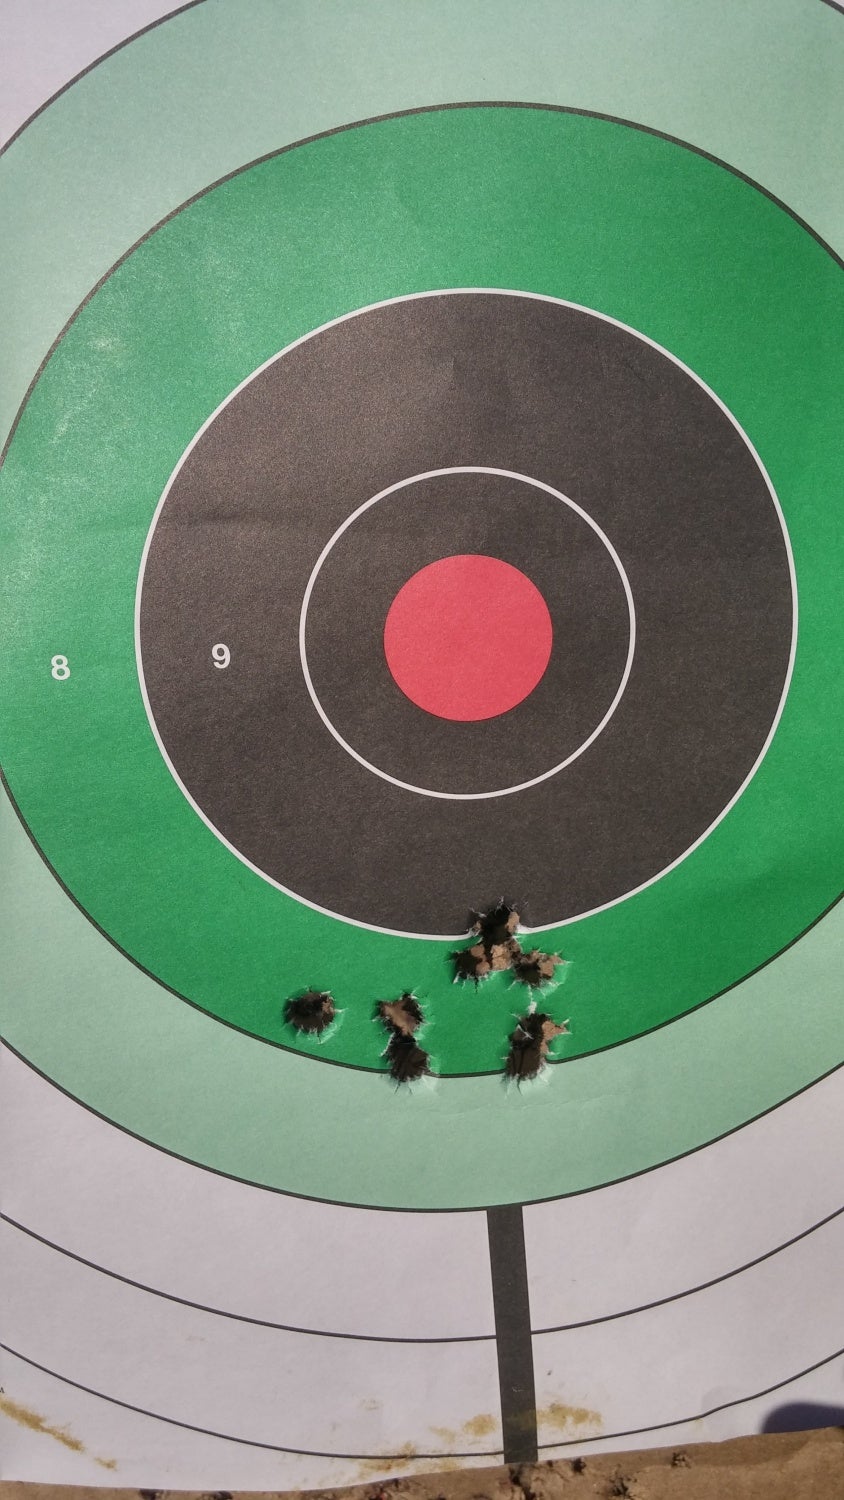
My commencement eight-shot group at thirty yards, post-modification. Not a peachy group, but it'due south a start. The shot to the left was called when I fired it. Excluding it, this is about a 3 MOA grouping, which is more or less what I'd await with surplus armament and a mixmaster CMP M1.
A surplus M1 firing surplus armament cannot be expected to exist a match-authentic rifle, only the M1 Garand is one of the near enjoyable military machine surplus .xxx cal full-power rifles out there to shoot. Recoil has the same magnitude as other rifles in its class, merely the recoil feels more on the "push" side than the "shove" side of the spectrum. And of course, for the range, the sights and trigger are excellent by surplus standards. All in all, a surplus M1 with a picayune tuning makes for a fantastic range toy.
Adjacent time, we'll talk about refinishing the new CMP stocks to give a more historical wait!

Source: https://www.thefirearmblog.com/blog/2016/02/18/cmp-m1-garand-part-3-receiving-your-rifle-and-turning-it-into-something-great/
Posted by: barlowplatudd.blogspot.com
0 Response to "How To Clean Up M1 Garand Stock"
Post a Comment